
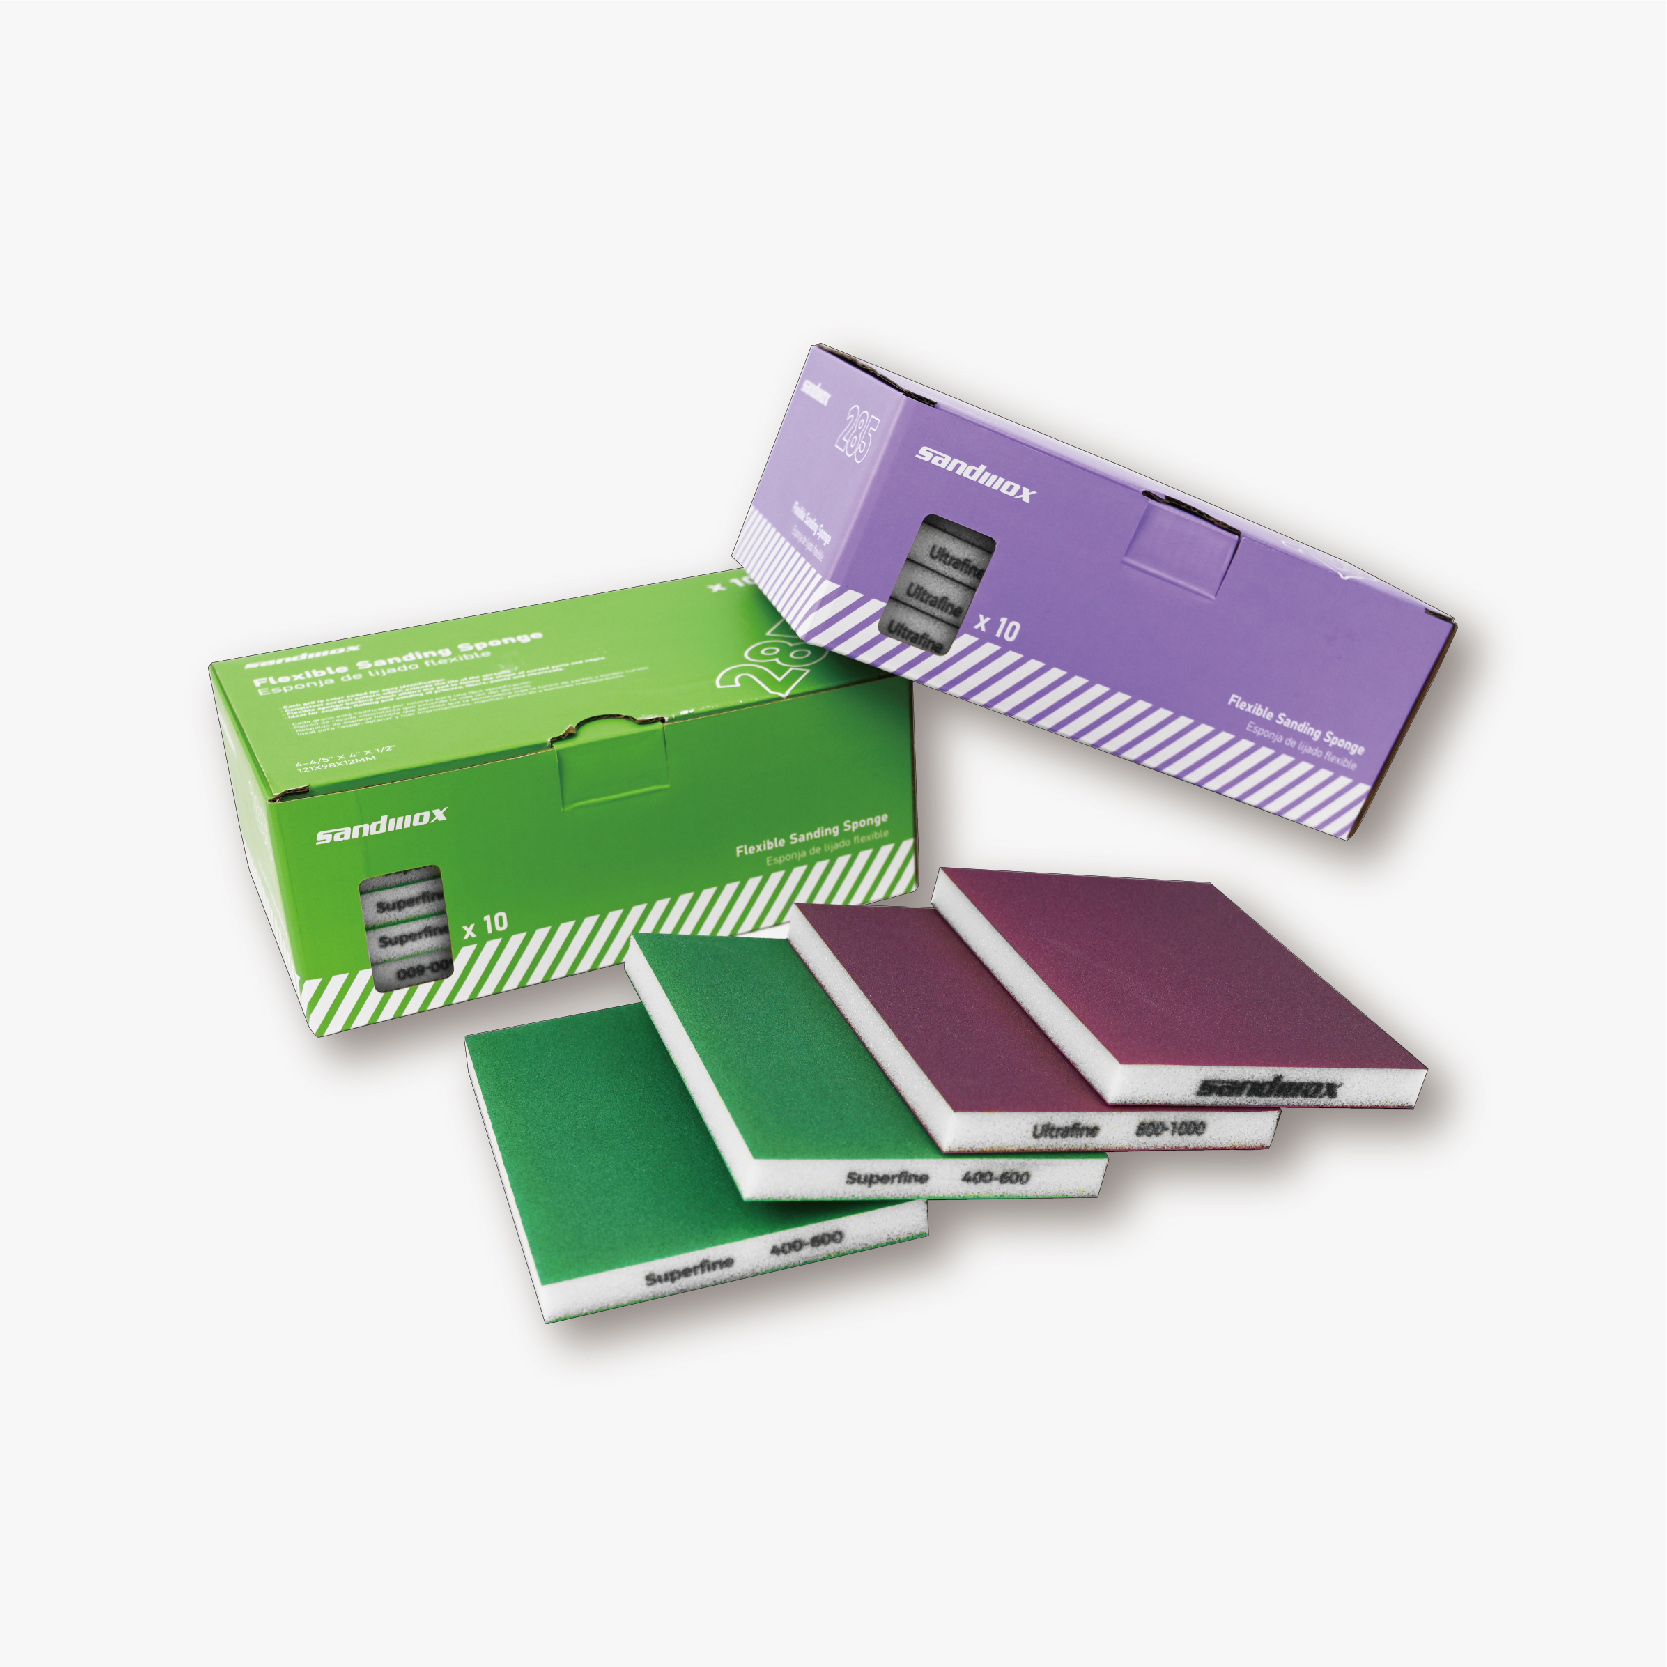
285 Sanding Sponge
Aluminum-oxide sanding sponge for surface prep


Control the cut. Control the scratch. Control the dust.
Wood sanding problems rarely come from one product alone. Uneven removal, visible swirl marks, rounded edges, clogged abrasives and excessive dust are usually caused by a mismatch between abrasive, machine, grit sequence and extraction. The Sandwox Woodworking Sanding System connects these elements into one repeatable process for solid wood, panels, furniture components and coated surfaces.
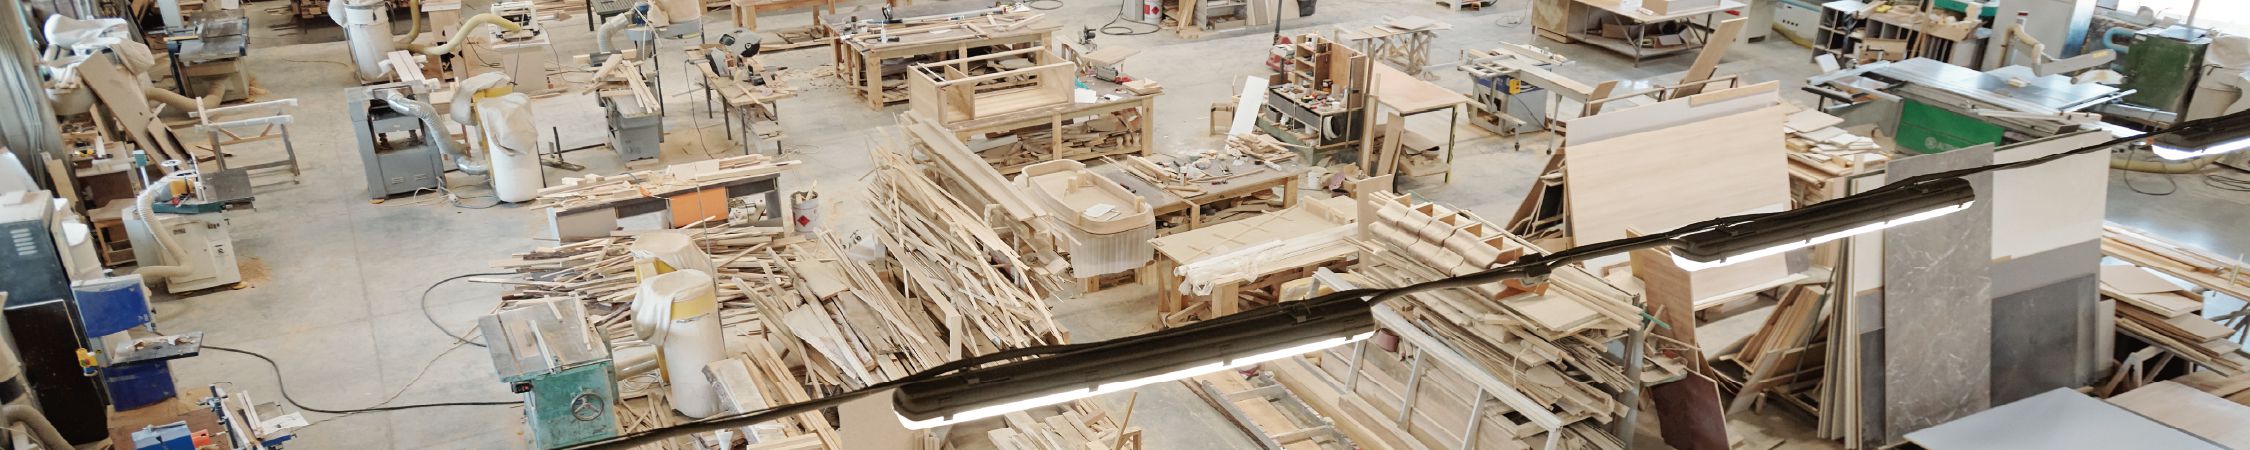
Start with the defect, not with a fixed grit. For rough timber, glue lines or major level differences, begin with P80-P120. For a clean machined panel, start finer to avoid unnecessary work. Move through the sequence without large grit jumps and mark the surface lightly between steps so remaining low spots and scratches are easy to see.
Use W533 zirconia belts where heavy stock removal and calibration are required. For general defect removal, 518 and 528 ceramic abrasives provide a fast, controlled cut. Keep the machine moving, work with balanced pressure and stop as soon as the surface is level; extra sanding only creates heat, deeper scratches and dimensional variation.
Choose the tool by the part: the SX655 round random-orbit sander works efficiently on open surfaces, while SX712 and SX812 rectangular sanders give better control near straight edges and corners. Keep the pad flat, overlap each pass consistently and use extraction at the tool. A uniform P120-P180 scratch is the foundation for predictable staining, sealing and coating.
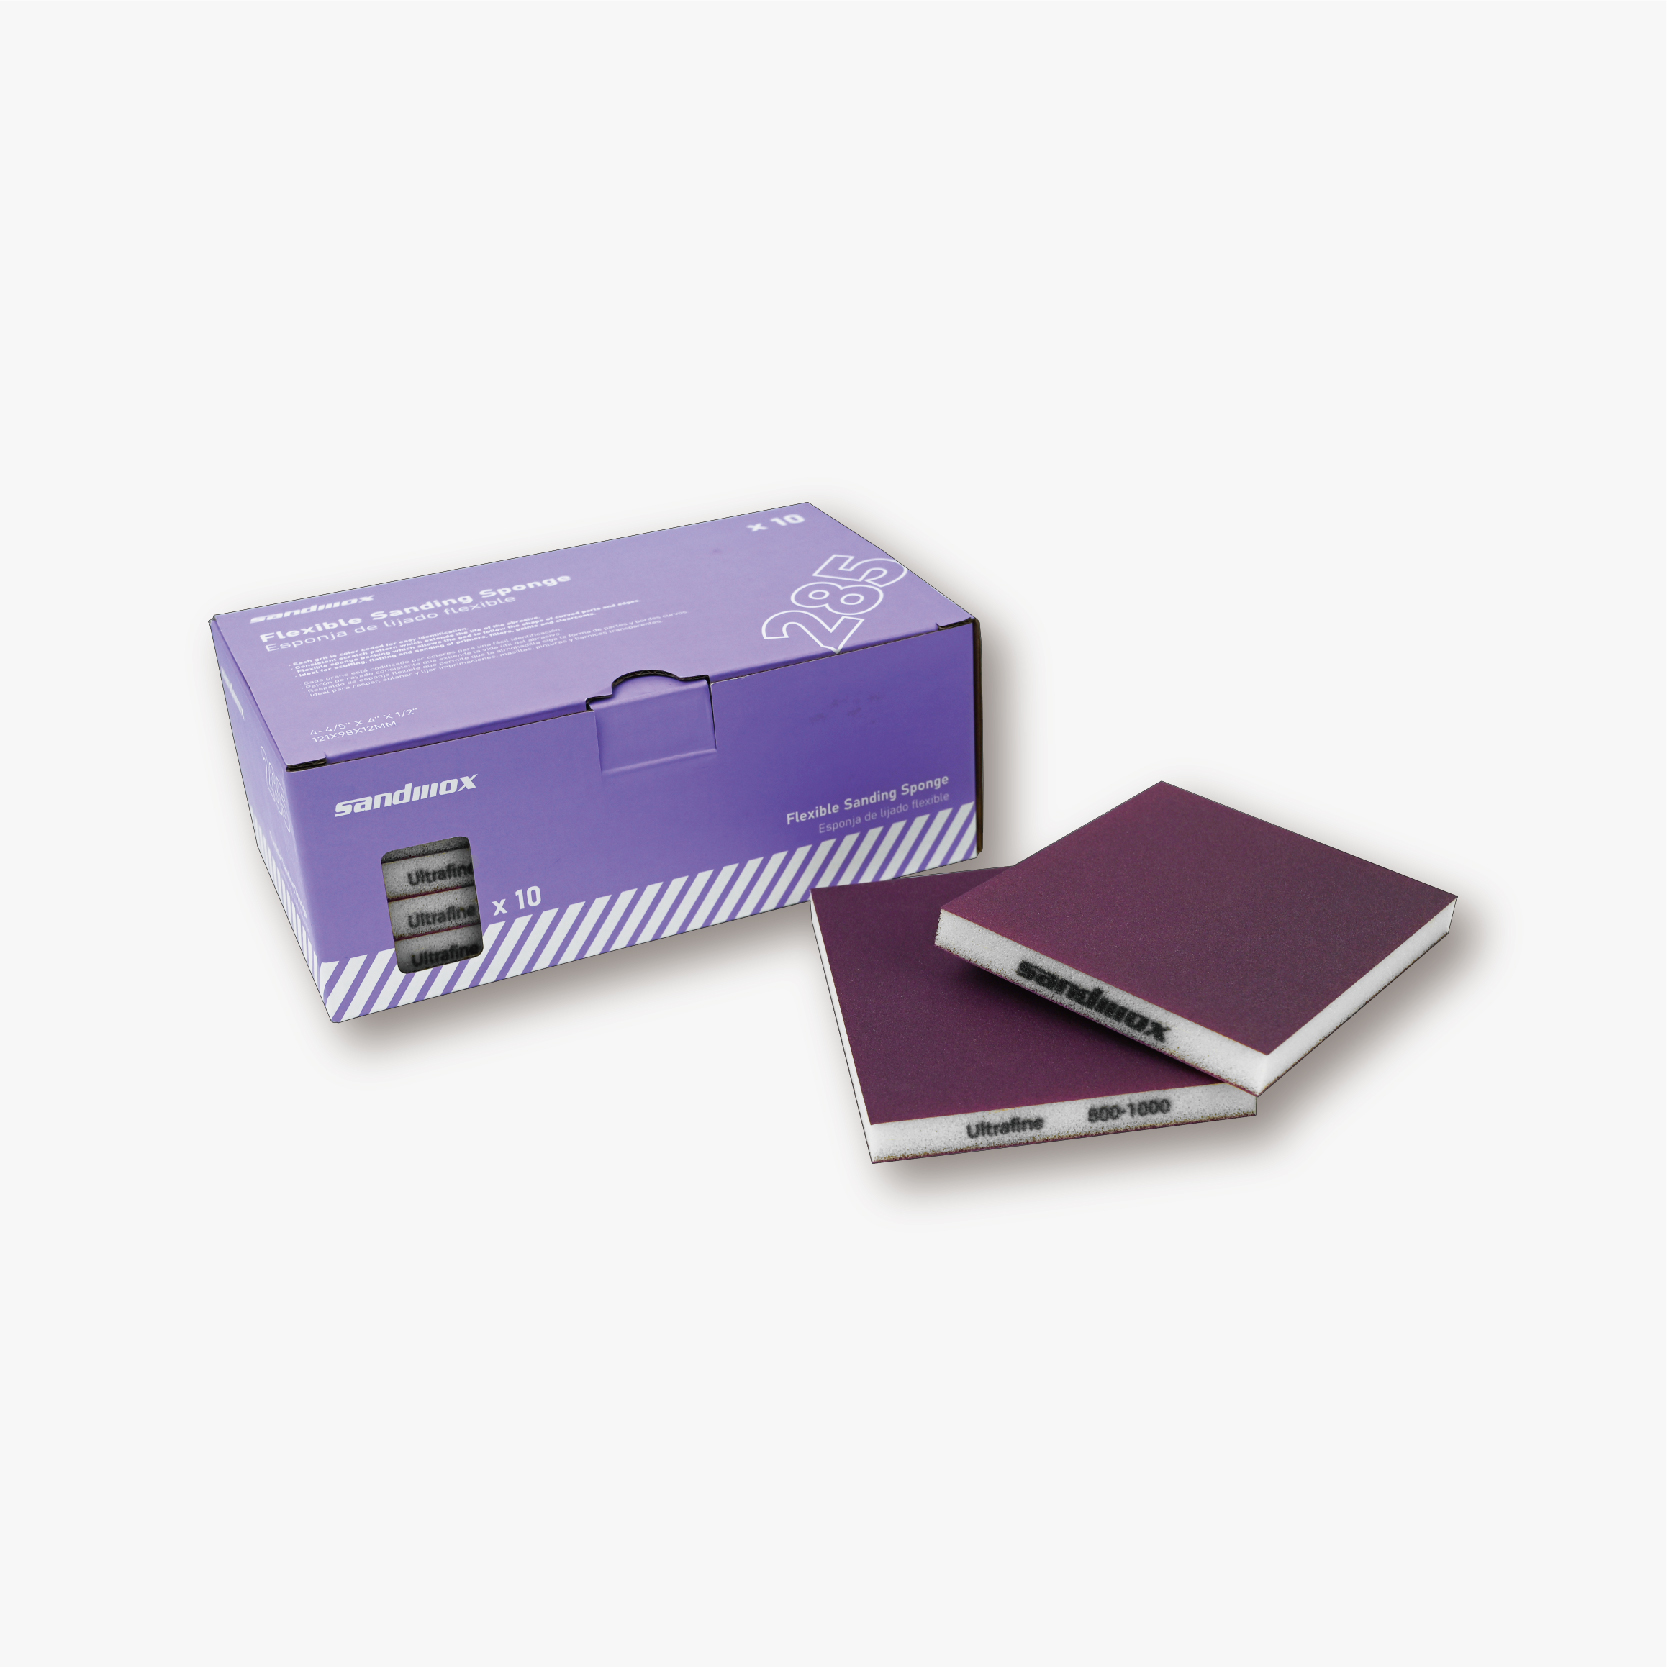
Edges are easier to over-sand than the center of a panel. Use the SX722 detail sander for controlled access and 285 or 286 sanding sponges for profiles, radiused edges and hand finishing. Reduce pressure, shorten the sanding time and inspect often so the part keeps its intended geometry and the coating will not expose burn-through.
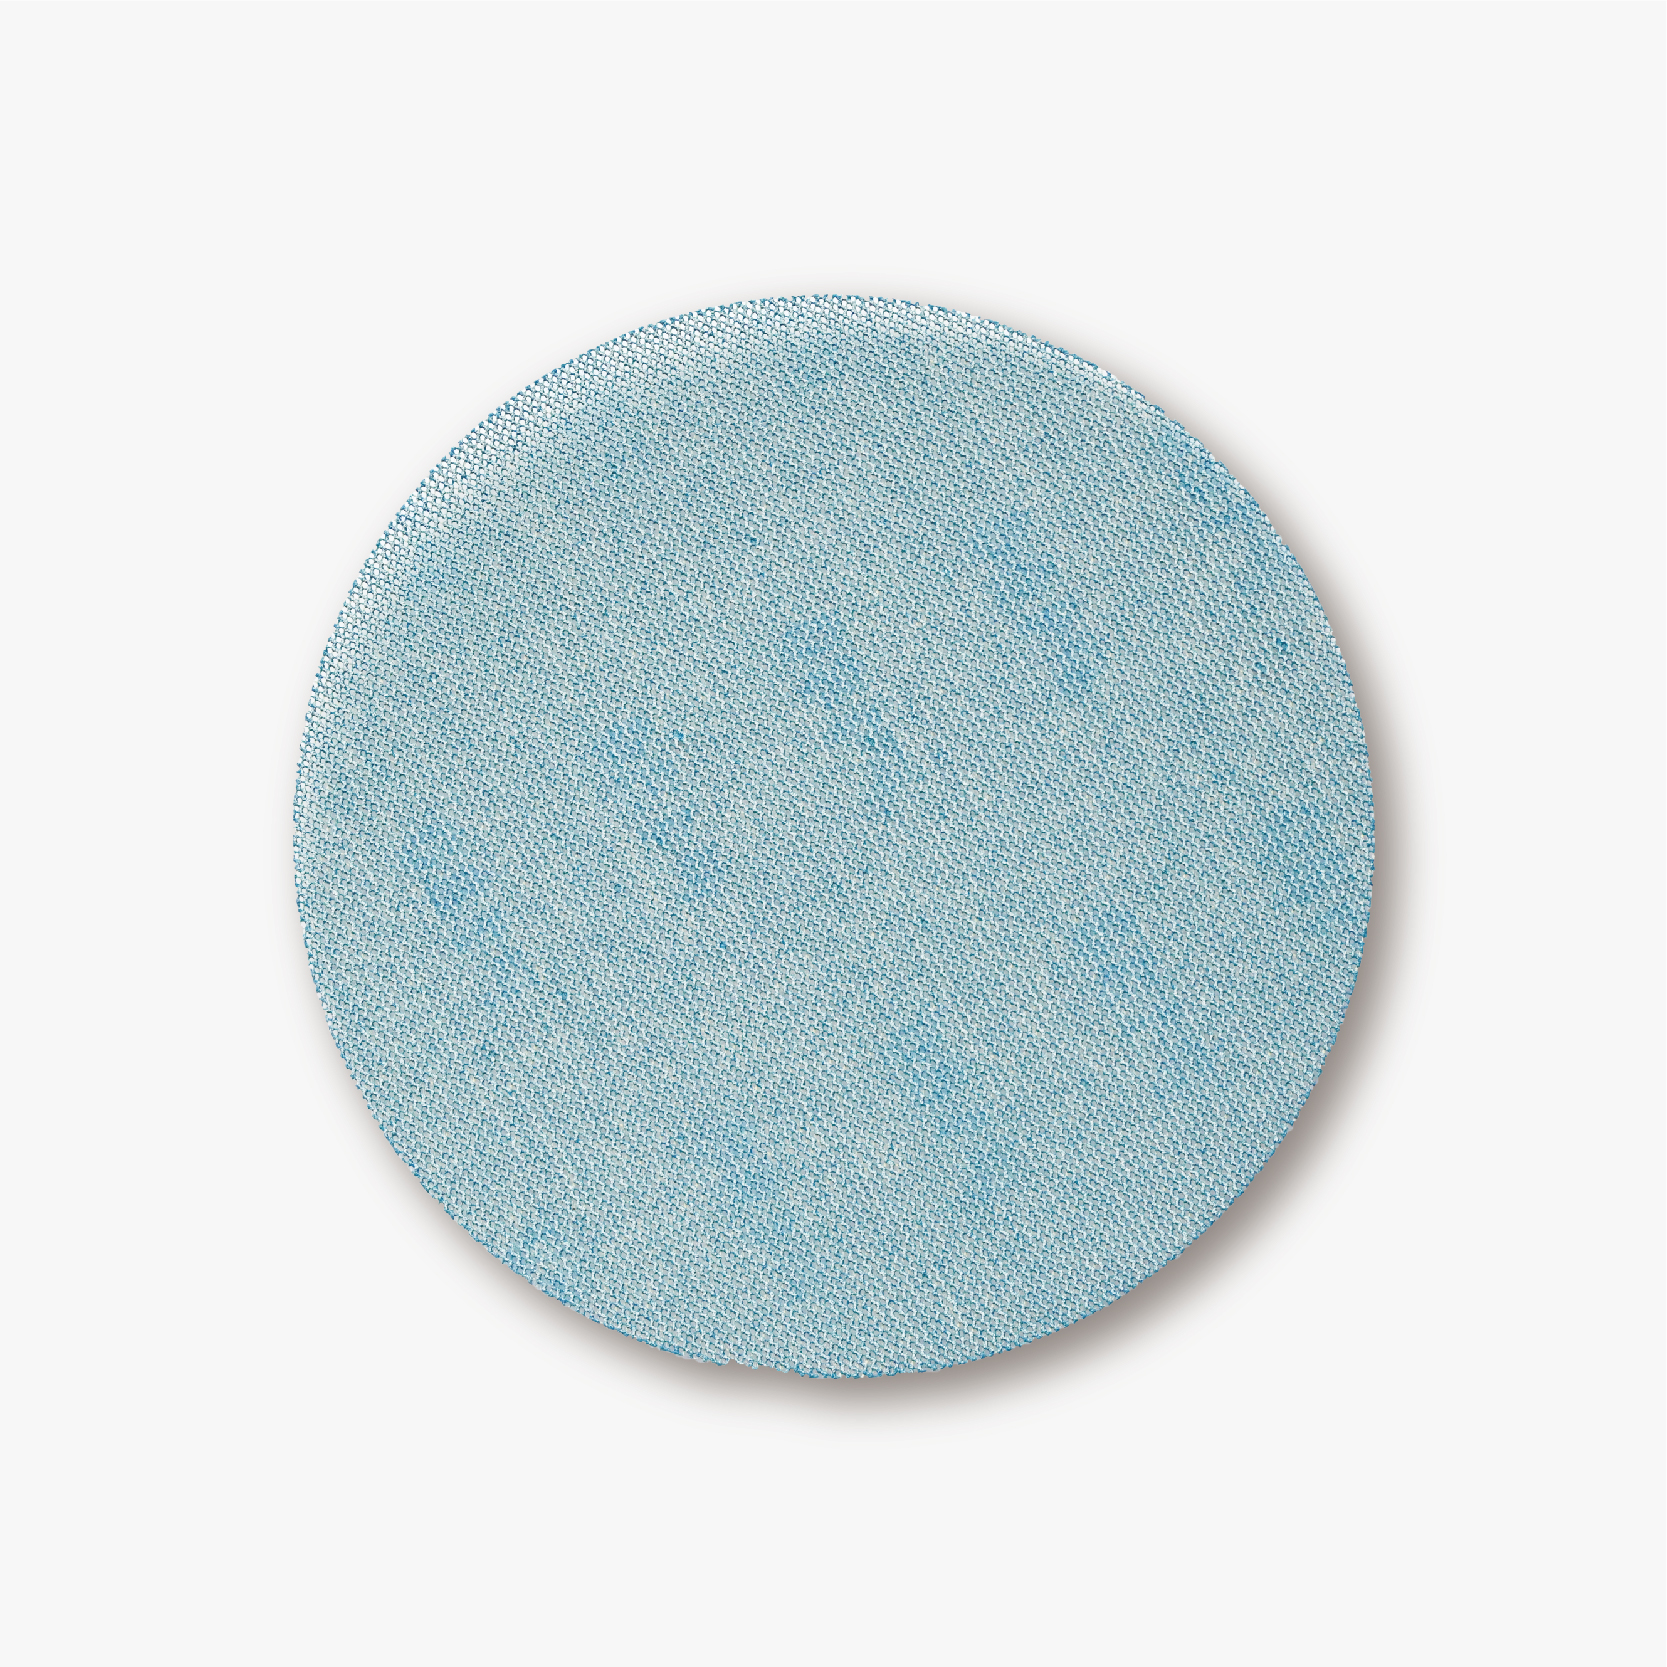
Use 818 or 828 net abrasives for the final P180-P320 stages, selected to suit the coating system. Their open structure works with extraction to reduce loading and keep the scratch consistent. Connect the sander to the LX2232 vacuum, add an SAV-32 or SEV-32 auto-start module, and organize the complete setup on an LX-WS5 or LX-WS7 workstation. The result is a cleaner cell, longer abrasive life and less time lost between steps.
Build your sanding system
Aluminum-oxide sanding sponge for surface prep
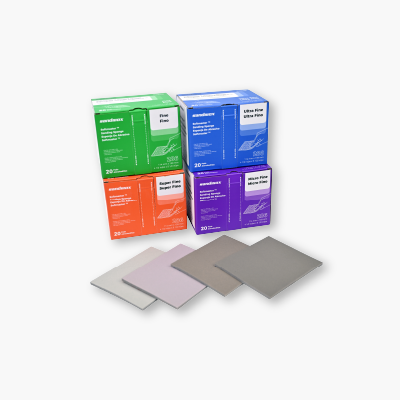
Ultra-fine sanding sponge for detail sanding
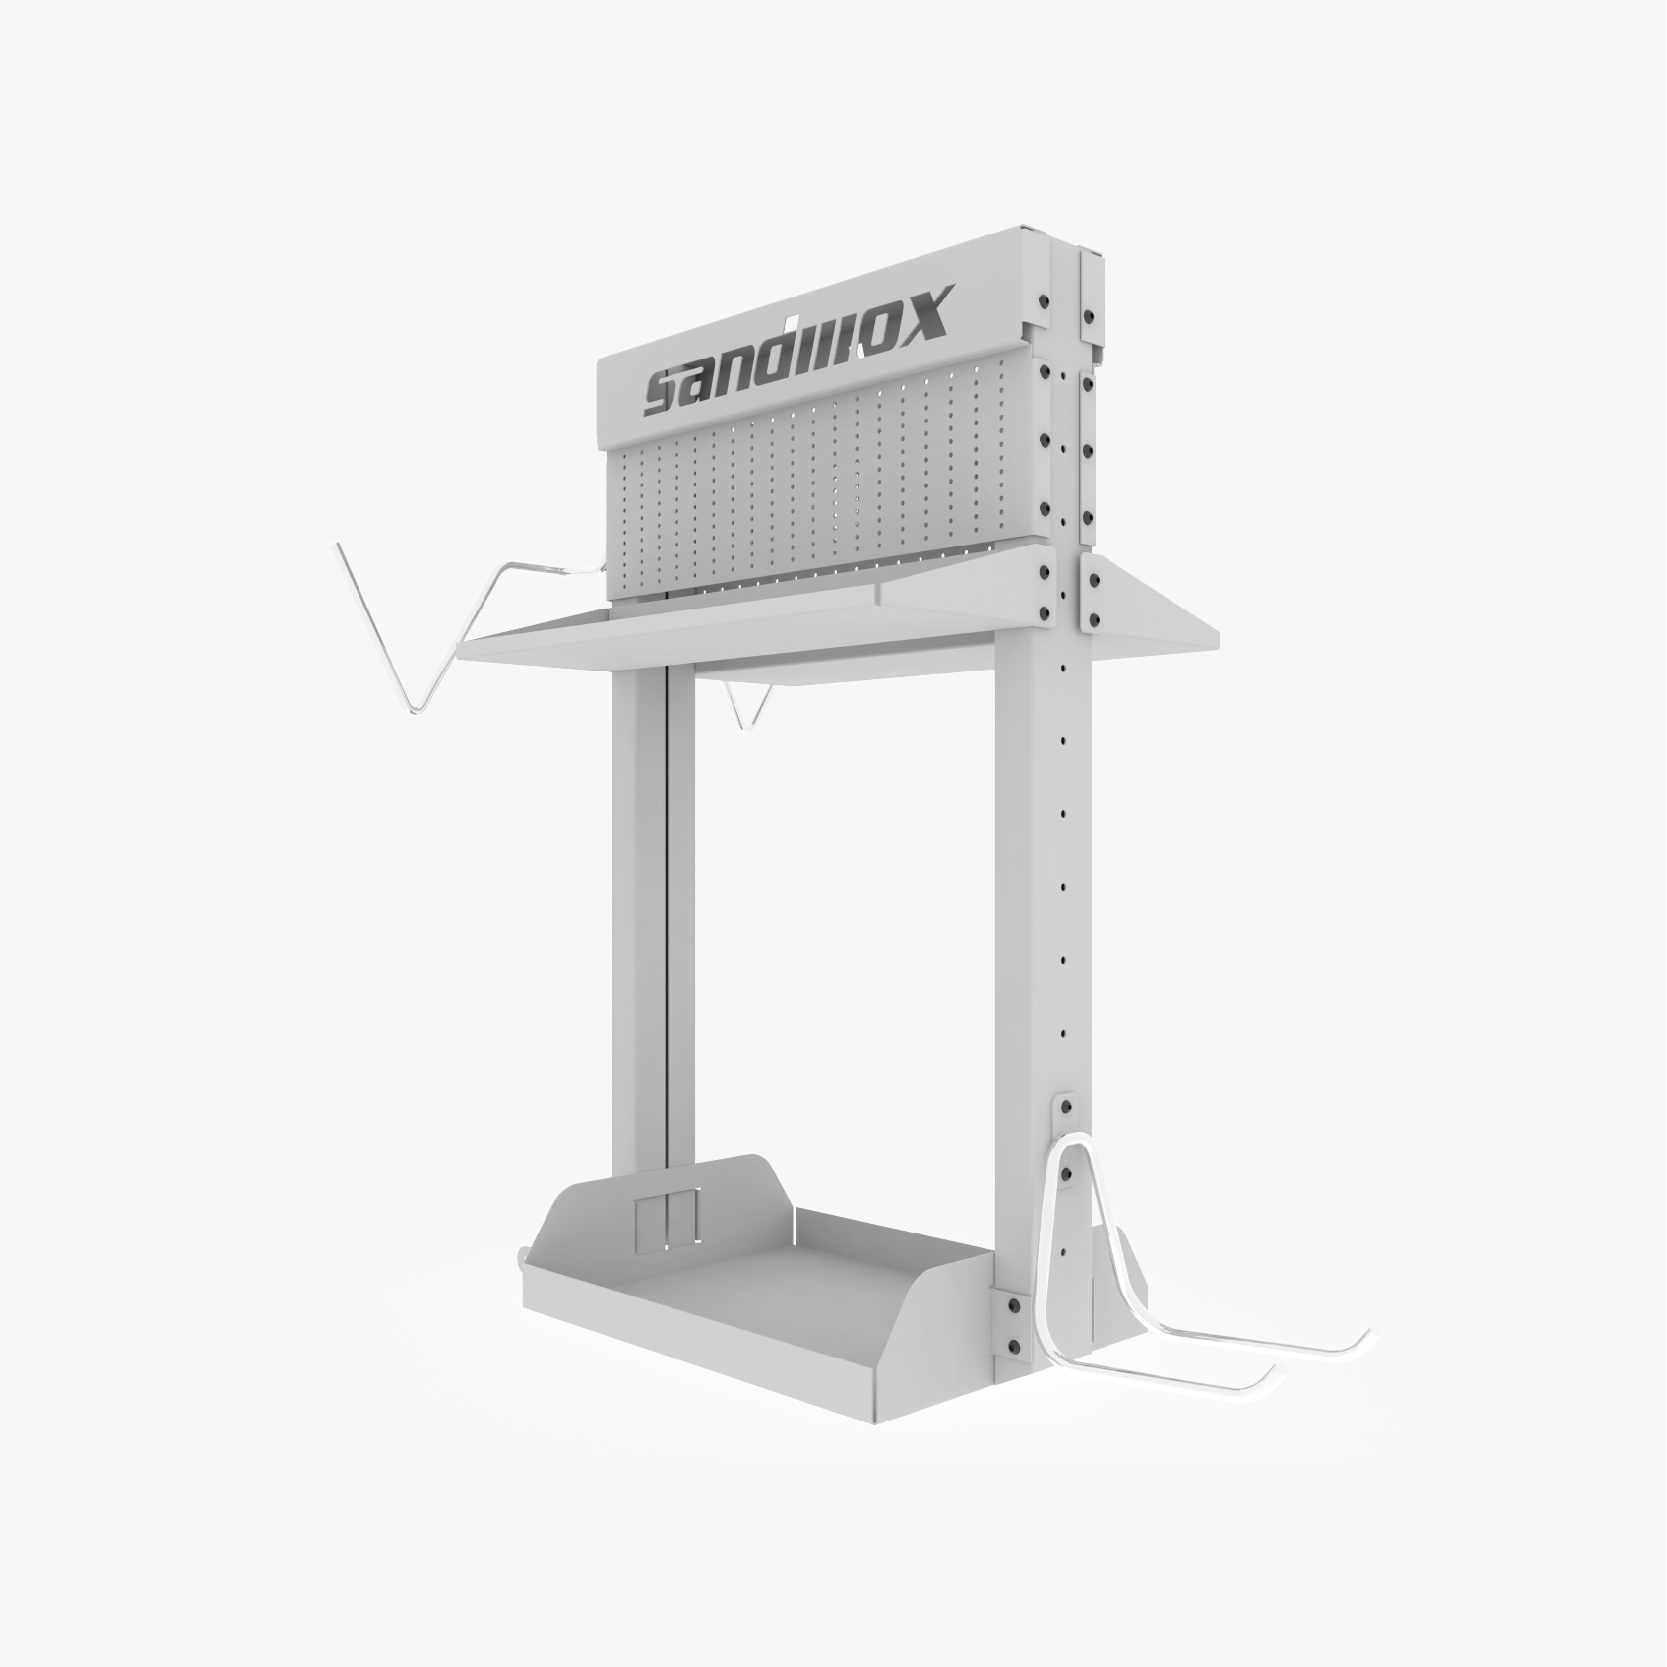
Workstand for automotive sanding
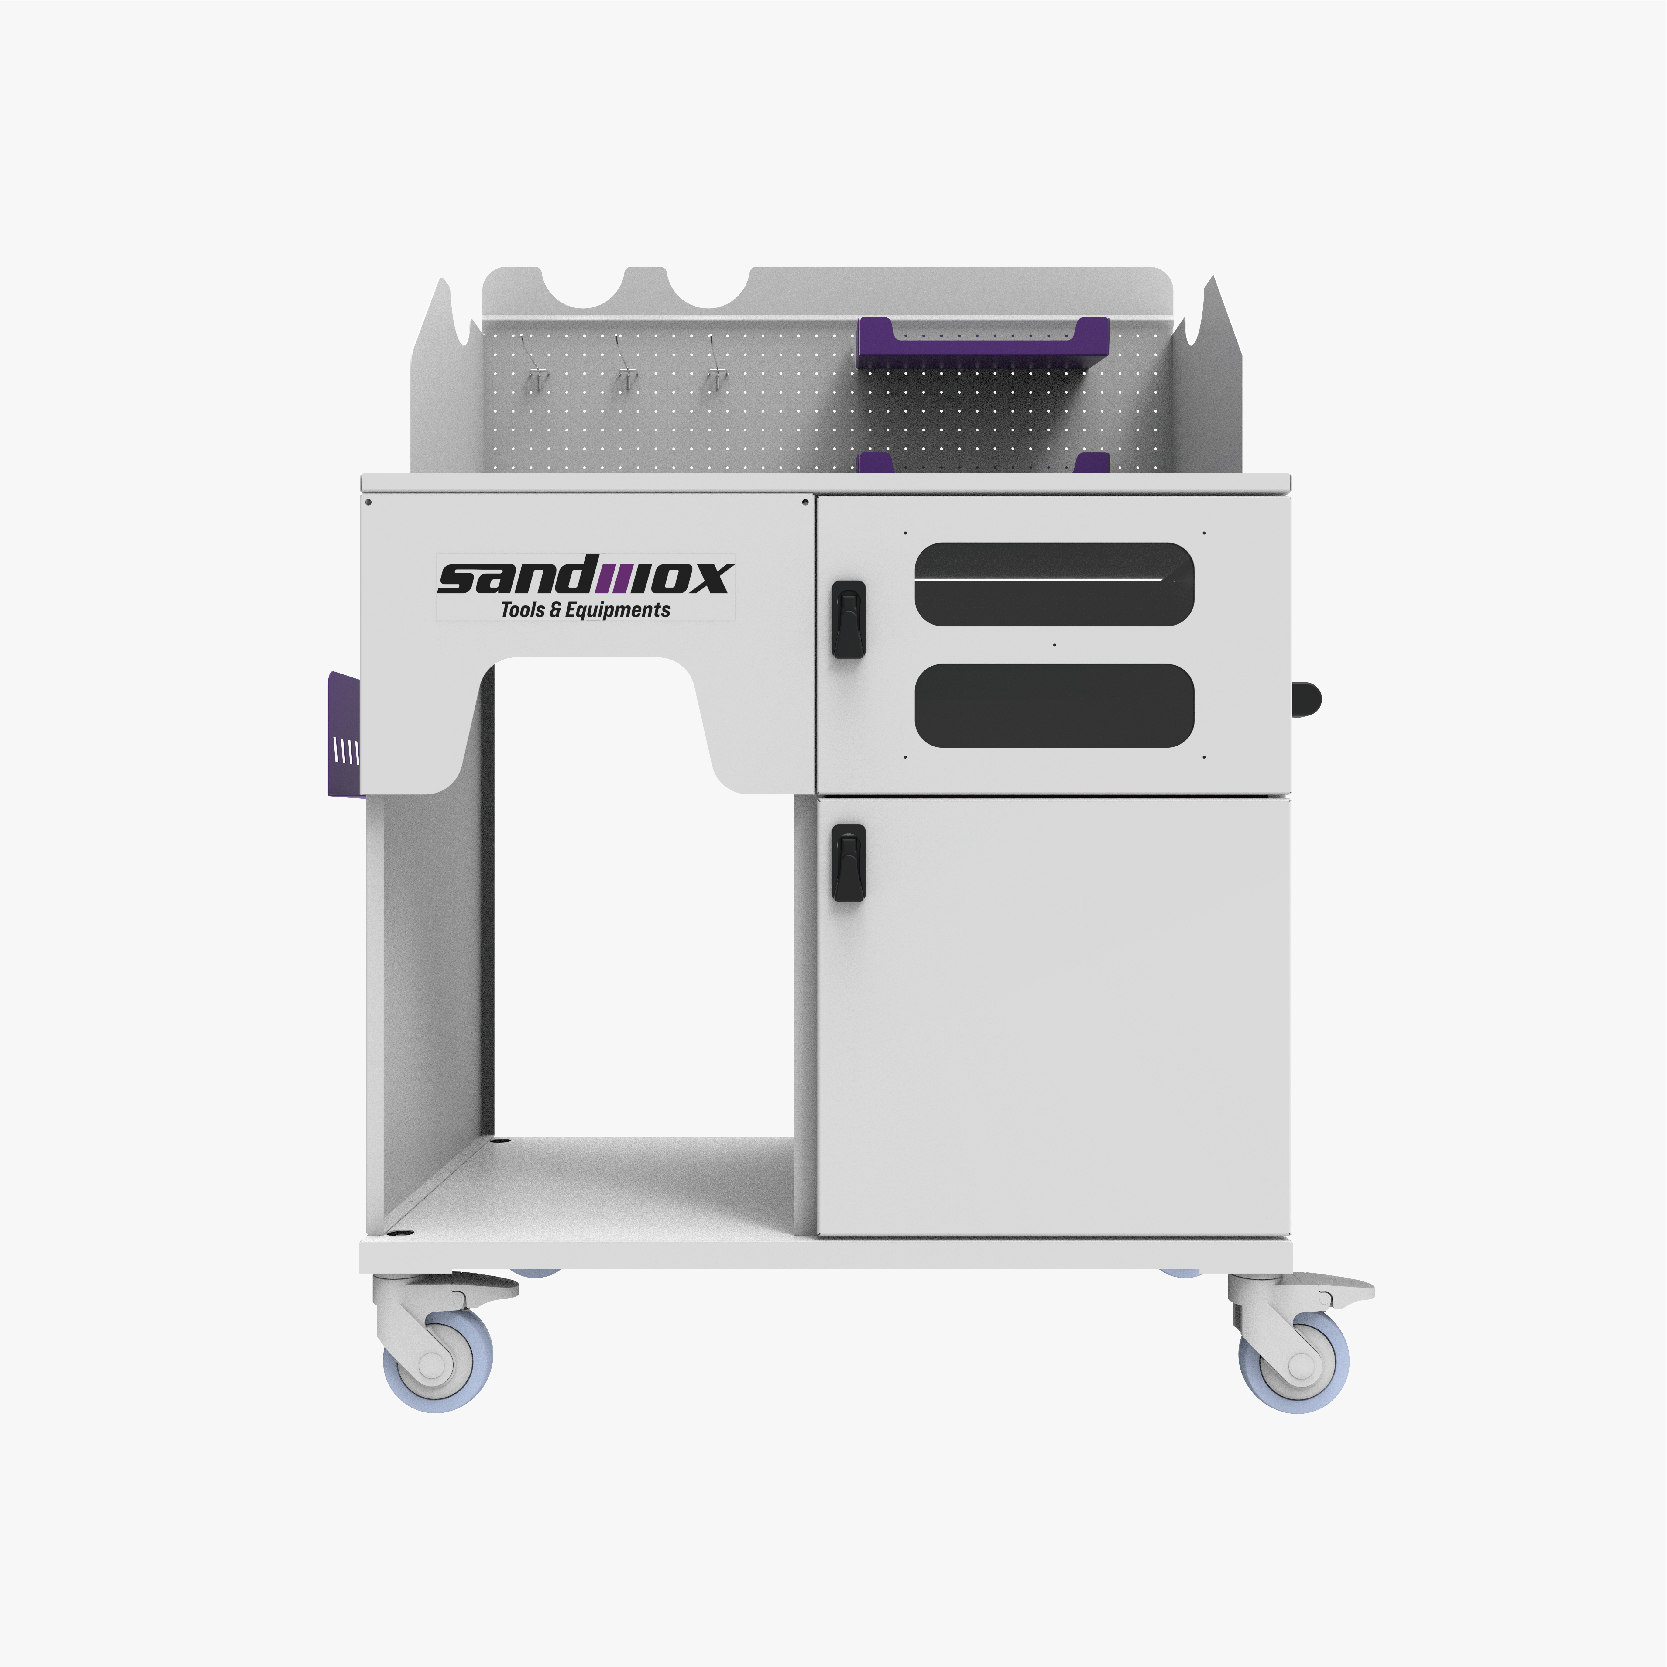
Workstation for workflow organization
Applications
Receive document updates, product changes, and related launch notices for this category.